When you are fitting the grip cork to the blank it is very easy to end up with a loose fit at the butt of the grip. How you can stop and repair this problem is simpler that you might think. First when you have formed the grip to the basic shape or if you bought a ‘performed’ grip, you are now ready to fit it to the blank. This is a very important step in rod building this is the contact between you and the rod.
If loose it loses contact and can crack the cork. Not only should the grip fit you hand, but it must fit the blank. Most of the builders I know use a rasp made of an old blank section that has Carbide or Obsidian epoxied to the outside. These are small enough to be smaller than the outside of the new blank. Tapered about the same as the new blank. One is 1/8. in to 1/4. in diameter the bigger one is 3/16 in. to 1/2 inch about 18 inches long.
Start with a smaller one if you have a smaller hole like a ¼ inch diameter in the cork and your blank is .500 or bigger. Remove the cork inside the grip by stroking the rasp in and through the cork from the butt end. Rotating the grip as you go in 1/8 of a turn, rotations. Stroke the rasp and bump the cork from the rasp after every couple of strokes. Try to put the force into the palm of your hand not into the opening’s edge. When the smaller rasp fits loosely, then move up to a larger rasp almost the size of the blank. Here you will have to be very careful about making the butt end and the front end ‘Oversized’ so the inside might look like a Bell shape. This is a natural happen from stroking with a flexible tool and using your hands. You can stop some of this from happening by having a clean section on the rasp. Like a handle area. Using short strokes so as not to bring the grit to the end of the cork stopping 1 to 2 inches inside the openings. It is very hard to repair the front area with glue when you have oversized the hole. The butt section is much easier. This is because as you slide the cork down the new blank you push the bonding Epoxy ahead with the tight center section of the grip. You may find as you check the fit that the grip is fitting tight in the middle. Go back to the smaller rasp with finer grit. Work just the middle section of the grip. By using the clear sections of the rasp to protect the openings. Stopping any more removal of cork from the ends until the mid-section is fitting the taper.
OK I said you could repair the OOPs of too much missing cork. What I do is if the top section is loose is to make the whole grip fit further down the blank tightly. You should placed a mark at the front of the cork, on the blank where it is to fit. File out so as to get about 1-1/2 to 2 inches past where you want the grip to fit. Now place wraps of masking tape just below the top mark on the blank. Allowing 1/8 of space below the mark, just thick enough to allow the grip to fit over the tape tightly, when in place. . Place another wrap about ½ inch from where the butt ends. Slide the grip up past the tape. Cover the blank with rod bond epoxy glue. (On very long grips you may what to add some mid section tape wraps) I like to use ¼ inch wide wraps.
Slide the grip in place stopping at the mark. The tape will center the grip and give room between the cork and the blank for the epoxy to fill-in. Try not to move the grip until the epoxy and set.
Try to make it right the first trying by fitting and trying again, as you get close. It is much better not to have to fix a problem.
Ol ‘ Flysoup
Allen Crise
Hawk Ridge Tackle and Flycasting School
Custom Rod
Glen Rose, Tx, 76043
This article originally appeared on flyfishing123.com.
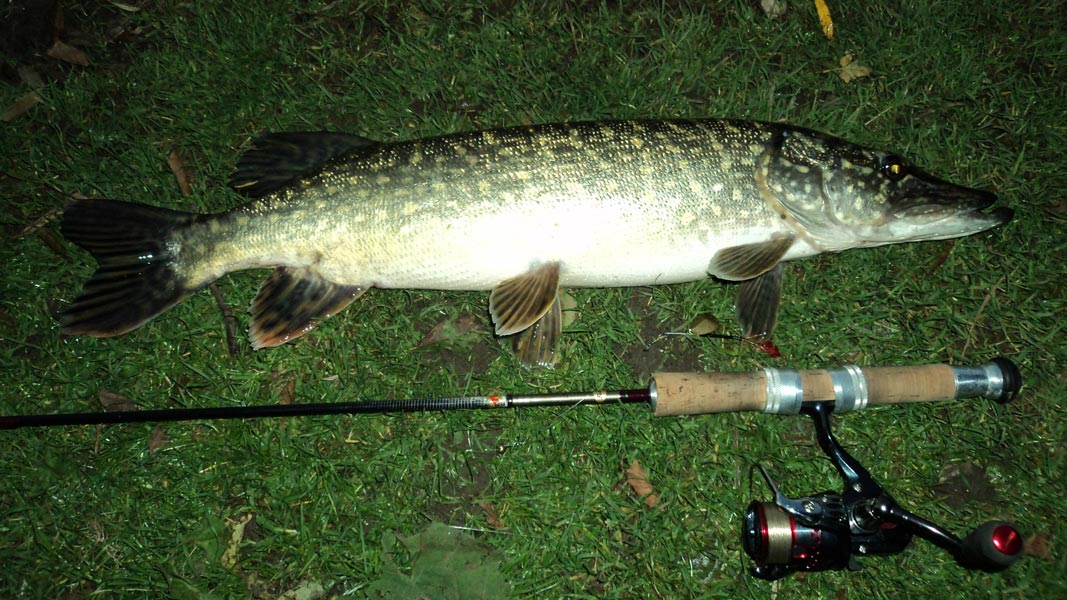
Photo by Aszazin – Own work, CC BY-SA 3.0, https://commons.wikimedia.org/w/index.php?curid=22119649

